


今天小编就带大家来共同学习Google Picasa裁剪图片尺寸的操作教程,希望可以帮助到有需要的小伙伴哦,下面就是详细完整的操作步骤。
Google Picasa裁剪图片尺寸的操作教程
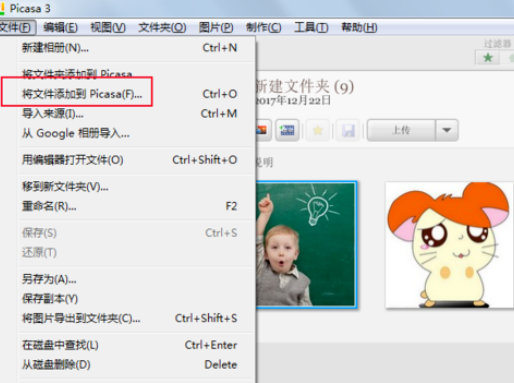
我们需要先打开Picasa,点击“文件”-“将文件添加到Picasa”。
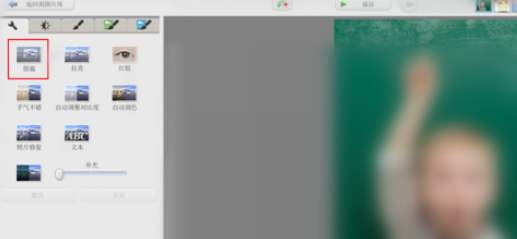
然后我们打开图片后,点击“通常需要的修正”-“剪裁”。
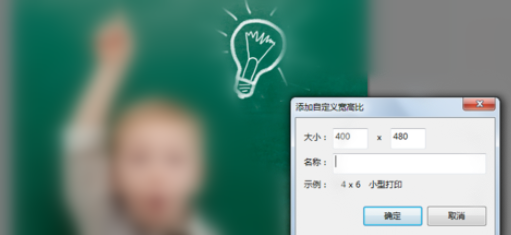
这时我们需要点击手动下方按钮,选择“添加自定义宽高比”。
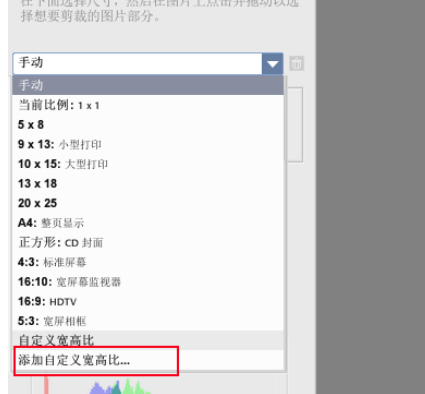
接着我们在对话框中输入像素大小。
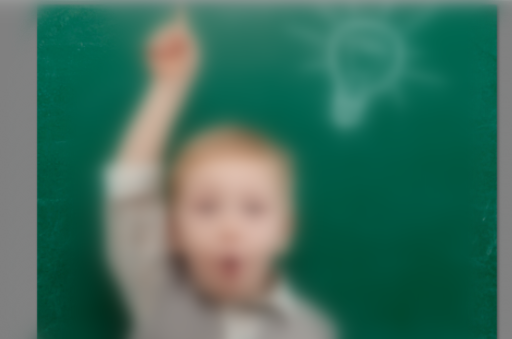
最后一步我们在图片合适位置上裁剪即可。
看完了上文所述的Google Picasa裁剪图片尺寸的详细操作流程,伙伴们自己也赶紧去试试吧!